Besides the inspections, that are done in great volume by the measuring trains, the services by manual measuring devices are also widely present in the activity of MÁV CRTI Dir.
The scope of the inspections with manual measuring devices are typically secondary railway lines and stations-tracks, turnouts, metro and local railway lines, which are not inspected by the measuring trains.
Furthermore, these manual inspections have a significant role in the secondary inspection of the flaws detected by the measuring trains. Thus, the measuring systems that are operated on the trains have an alternative with the manual measuring devices in the cases of ultrasonic, eddy-current, rail corrugation and rail profile inspections.
Ultrasonic inspection
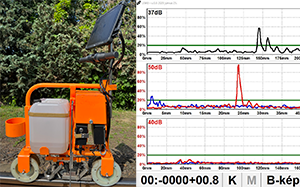
The ultrasonic trolley can handle 5 channels at the same time, which allows it to scan the rail cross section with more ultrasonic probes in one pass. In case of the ultrasonic trolley, the indications can be analysed on „A” and „B” scans just like on the measuring trains.
Furthermore there is the opportunity to record and save the registered ultrasonic data, the defect list handling and the protocol generation in the given inspection is done on the same interface. The results can be replayed and analysed in the office.
The qualification of the rail flaws is done according to the EN 17397-1:2020 standard. The ultrasonic trolley meets the requirements of the EN 16729-1:2016 standard.
Eddy-current inspection
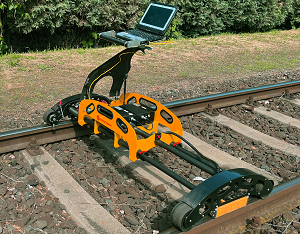
The number, position and shaping of the inspection probes of the eddy-current manual measuring device is the same as on the measuring trains, which means that the inspection of the Head Check flaws is done by 4 – 4 probes on both rails.
The provided results are also the same as the results which are presented in the chapter about the eddy-current measuring system installed on the train. The ultrasonic trolley meets the requirements of the EN 16729-2:2018 standard.
Rail corrugation and rail profile measurement
In case of the inspection of shorter railway sections, our company carries out the rail corrugation measurement in the wavelength interval of 30 – 300 mm.
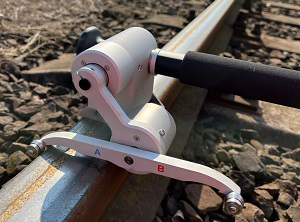
The rail profile manual measuring device enables the measurement of selected cross-sections by mechanical roller scan, calculates the main wear parameters and visualizes the worn rail profile.


